
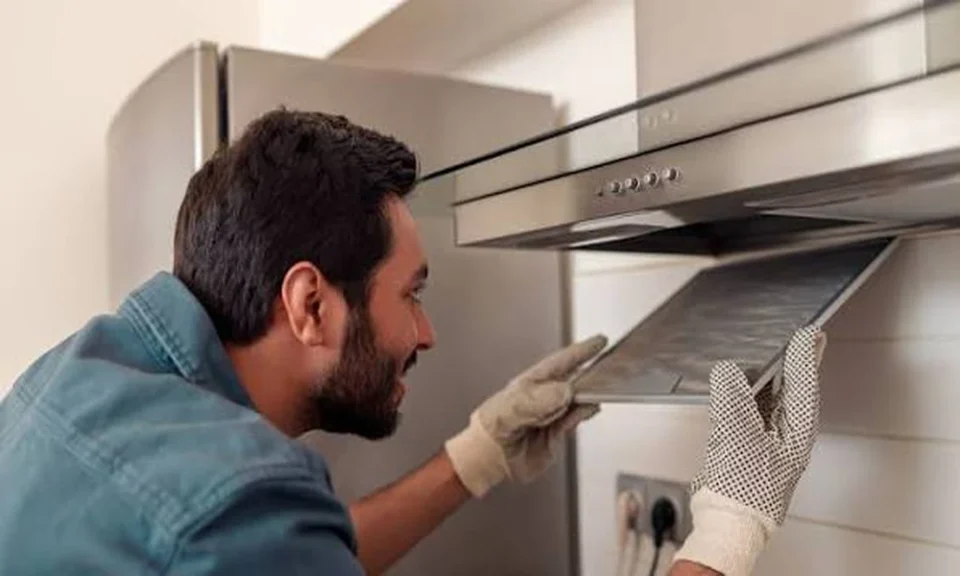
Installing a 90cm cooker hood involves more planning than simply ordering the appliance and waiting for a fitter. The decisions made during planning — about duct routes, chimney dimensions, cabinet preparation, and motor specification — determine whether the installed hood performs as expected or disappoints despite being a quality product. Taking the time to plan these elements before installation begins saves the frustration of discovering mismatches after the work is complete and difficult to undo.
Cabinet Opening and Chimney Sizing
A 90cm cooker hood requires a 90cm wide cabinet opening above the cooking position. In many kitchens, this means specifying the overhead cabinet layout to leave this opening during the initial kitchen design. The chimney section of the hood — the vertical column that connects the hood body to the ceiling — must be sized to fill the available height between the hood and the ceiling. Most chimney sections are adjustable within a range; verify that the model under consideration accommodates the ceiling height of your specific kitchen before ordering.
Duct Diameter and Route
Higher extraction capacity hoods at 90cm width typically require larger duct diameters than standard 60cm models — often 150mm or 200mm rather than 125mm. A duct that is undersized relative to the hood’s extraction rate creates back-pressure that reduces effective airflow and increases operating noise. The duct route — whether horizontal or vertical, and the number of bends it incorporates — affects airflow resistance. Minimising duct length and bends and using appropriate diameter duct for the specified extraction rate are the principles that produce optimal installed performance.
Electrical Supply
Confirm that the installation position has access to the required electrical supply — typically a standard 13A socket or a dedicated fused spur depending on the model. The electrical connection point should be accessible within the chimney space but not create unsightly visible wiring. Planning the cable route during the kitchen installation rather than adding it after cabinetry is in place produces a cleaner result.
Testing Before Final Fixes
Before making permanent structural fixes, running the hood through all speed settings to verify airflow and noise levels, checking that the chimney sits plumb and at the correct height, and confirming that controls are accessible and functional saves the difficulty of adjustment after everything is secured. Brands like 90cm cooker hood make provisional testing straightforward with their portable designs — a useful benchmark for understanding extraction performance expectations before committing to a permanent installation.
Portable options like the Ciarra Hood to Go ensure that ventilation is always available regardless of the status of permanent installations.
